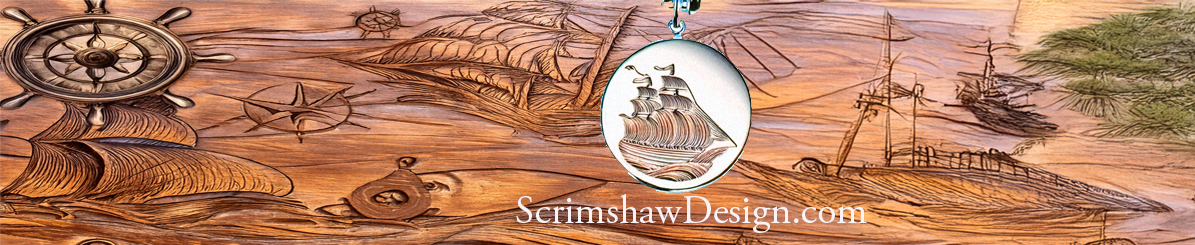
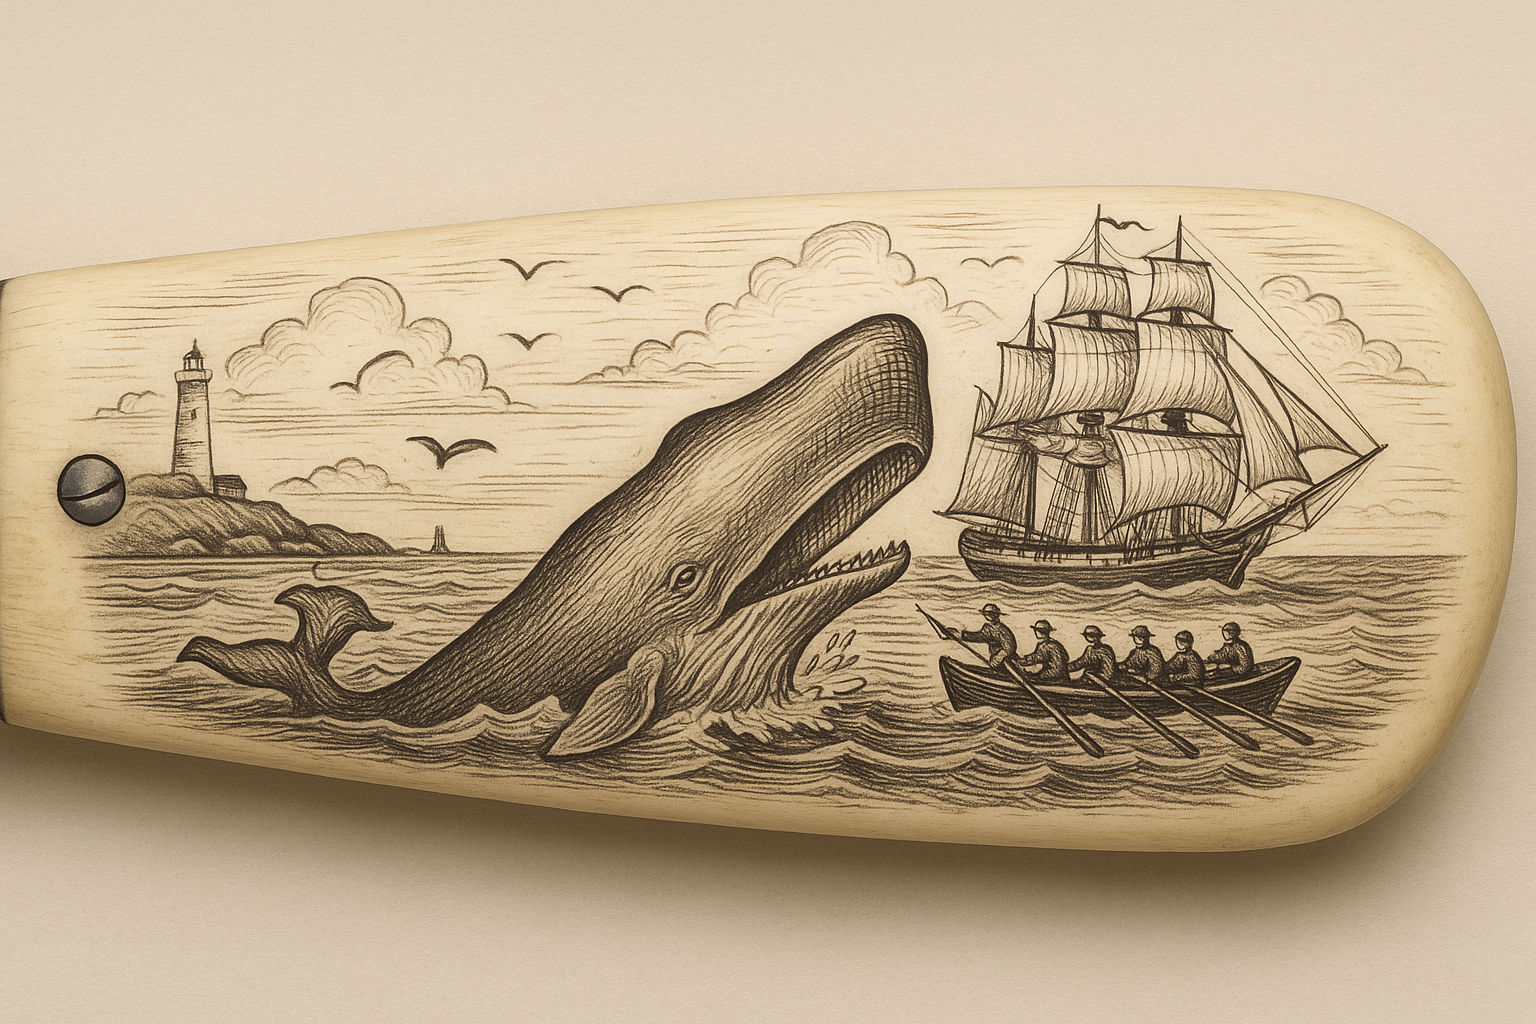
Scrimshaw—the art of engraving intricate designs into bone, ivory, or faux ivory—has long been a treasured tradition among sailors and craftsmen. Combining this timeless art with a practical tool like a pocket knife creates a one-of-a-kind heirloom piece that blends functionality and artistry. In this guide, we'll walk you through how to make a scrimshaw pocket knife, from choosing materials to finishing your design.
Materials You Will Need:
-
Pocket Knife with Bone, Ivory, or Micarta Scales (handles)
-
Sharp Scribe or Etching Needle
-
India Ink or Black Oil Paint
-
Fine Sandpaper (400 to 1200 grit)
-
Soft Cloths
-
Isopropyl Alcohol
-
Magnifying Glass or Optivisor (optional, for detailed work)
-
Pencil and Tracing Paper
-
Fixative Spray or Clear Sealant (optional)
Step 1: Select Your Knife
Choose a quality pocket knife with plain, light-colored handle scales made from:
-
Bone
-
Ivory (faux ivory is commonly used today)
-
Micarta or similar ivory-like material
The lighter the handle, the better your design will show. Make sure the handle is smooth and free of deep pores or cracks.
Step 2: Prepare the Surface
Use fine sandpaper (starting around 400 grit and moving up to 1200 grit) to gently polish the surface of the handle. This ensures a clean, smooth surface for better engraving and ink adhesion.
Wipe the handle down with a soft cloth and a little isopropyl alcohol to remove any dust or oils.
Step 3: Plan Your Design
Using a pencil and tracing paper:
-
Sketch your design first.
-
Stick to bold, simple outlines if you're a beginner.
-
Nautical themes like ships, whales, anchors, compasses, and sailors are traditional and look fantastic.
Once you're satisfied, transfer the basic outline lightly onto the handle with a pencil. You can also freehand if you're confident.
Step 4: Etch the Design
Using a sharp scribe or fine etching tool:
-
Lightly scratch along your pencil lines.
-
Keep your pressure consistent.
-
For shading, use a series of tiny dots ("stippling") instead of deep lines.
Take your time! Scrimshaw is slow, detailed work. A magnifying glass can help you see fine details better.
Step 5: Ink the Design
After the entire design is etched:
-
Rub India ink or black oil paint over the etched area using a cloth or your finger.
-
Work the ink into all the fine scratches.
-
Let it sit for a few minutes so it settles into the grooves.
-
Wipe off the excess carefully with a clean cloth, leaving ink only in the etched lines.
You may need to repeat this process two or three times to achieve the depth and darkness you want.
Step 6: Finish and Protect
Once your ink is dry and your design looks perfect:
-
Lightly buff the handle with a very soft cloth.
-
(Optional) Spray a very light coat of clear acrylic fixative or sealant over the handle to protect the scrimshaw from fading or wearing off.
Allow everything to cure fully before handling the knife too much.
Tips for Beginners
-
Practice on scrap bone or Micarta before working on your knife.
-
Start with simple shapes before tackling intricate scenes.
-
Keep your tools sharp and clean for the best results.
-
Take frequent breaks—scrimshaw demands a steady hand and sharp eyes.
Conclusion
Creating a scrimshaw pocket knife is a rewarding project that connects you with a centuries-old maritime tradition. With patience and care, you can turn an ordinary knife into a unique work of art that carries history, craftsmanship, and your personal touch.
Whether for yourself, as a gift, or even to sell, a handmade scrimshaw pocket knife is a piece to be cherished for generations.
Scrimshaw